
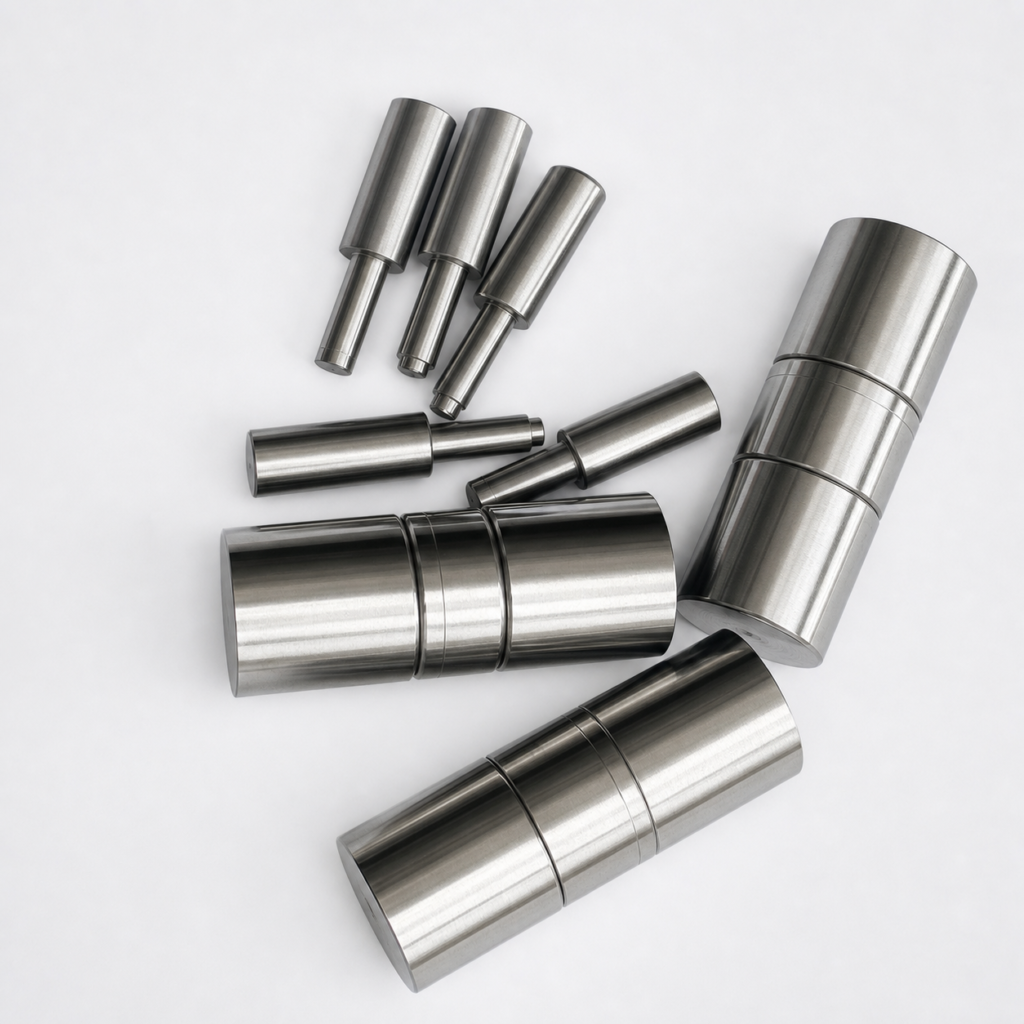
How to Test PCP Airgun Slugs
The most reliable way to find an accurate PCP slug is to test one variable at a time. Establish a safe baseline, compare projectile fit and stability, record velocity and only then adjust the rifle in small, reversible steps.
Randomly changing pressure, hammer tension, slug weight, diameter and optic zero may eventually produce a good group, but it will not explain why.
What a useful test should answer
- Does the projectile load safely?
- Does it remain stable?
- Is velocity repeatable?
- Does it group at the intended distance?
- Is the tune efficient enough for practical use?
The smallest single group is not the only result that matters. Repeatability is more valuable than one lucky target.
Equipment
Prepare:
- A secure range and suitable backstop
- Eye protection
- A chronograph
- Stable front and rear support
- Paper targets
- A pressure and shot-count log
- Slug sample packs
- The rifle manufacturer’s instructions
Record temperature and approximate wind when possible.
Step 1: establish a control
Begin with the rifle’s known accurate pellet or slug. Shoot a control group and chronograph string.
This confirms the optic, rifle, rest and shooter are producing expected results.
Step 2: inspect the candidates
Record brand, caliber, diameter, weight, length, nose design, base design and lot number.
Inspect for damaged bases, seams, oxidation or inconsistent shapes. A representative measurement sample can reveal lot variation.
Step 3: check loading behavior
Confirm that each candidate chambers smoothly. Do not fire a slug requiring abnormal force.
Inspect a cycled but unfired slug for even rifling marks, scraping, magazine dents or probe damage. Compare magazine loading with single loading.
Step 4: screen for stability
Start at a safe, moderate distance. Reject or pause any load that produces keyholes, strongly oval holes, extreme flyers, muzzle contact or abnormal loading resistance.
Only stable candidates should move farther.
Step 5: collect chronograph data
Record average velocity, extreme spread, standard deviation when available, starting pressure, ending pressure and shot count.
Do not chase an internet “magic velocity.” The useful velocity stabilizes the slug, groups consistently and remains within legal and manufacturer limits.
Step 6: compare ammunition first
At the baseline tune, compare:
- Same diameter with different weights
- Same weight in adjacent diameters
- Similar weight with different designs
Use multiple groups, not one. If wind changes, alternate promising candidates so one does not receive all the favorable weather.
Step 7: adjust one variable
After identifying a stable candidate, change only one manufacturer-supported parameter.
After each change:
- Record the setting.
- Fire necessary settling shots safely.
- Record a chronograph string.
- Shoot the same group format.
- Note pressure and weather.
Step 8: validate at the intended distance
Evaluate average group size, unexplained flyers, vertical dispersion, point-of-impact consistency and stability.
Do not extend distance beyond what can be used safely.
Simple test log
| Field | Record |
|---|---|
| Rifle and barrel | Model, length, liner |
| Slug | Brand, weight, diameter, lot |
| Tune | Supported settings |
| Pressure | Start and finish |
| Velocity | Average, ES, SD |
| Distance | Yards and meters |
| Group | Size and shot count |
| Conditions | Wind and temperature |
Photograph every target beside its label.
Common mistakes
- Changing several variables at once
- Selecting a winner from one group
- Ignoring diameter
- Cleaning between every group
- Comparing loads in different weather
Frequently asked questions
How many shots should a group contain?
Five-shot groups are economical for screening, but larger groups reveal consistency better. Apply the same standard to every candidate.
What FPS is best?
There is no universal value. It depends on slug length, twist, caliber, barrel and legal power limits.
Should I sort slugs by weight?
Sorting can help advanced testing, but it cannot fix unsuitable twist or diameter.
Final takeaway
Good slug testing is controlled experimentation. Begin with a known baseline, screen for safe loading and stability, compare ammunition and make one tune change at a time.